Creating a song from existing recordings
How the song creator works: upload existing recordings, import a score file or start with sheet music only, then add lyrics and chapters.
Web + app
Did you get separate voice recordings from the publisher, a score file from your notation software, or so far only the sheet music PDF? The song creator turns that into a cori practice song in a few minutes. Once it's saved, every singer can open it, turn their own voice up, follow the notes and practise at home.
This guide shows the routes that start from material you already have. How you record voices straight on your phone (with a click, sheet music and a note check) and edit the takes in the audio editor is described in Creating a song with the AudioEditor.
How the creator is laid out
To get started you need song-management rights in the choir (admins and the choir leadership have them). Open your choir's song list and choose the add button. The creator then takes you through it step by step:
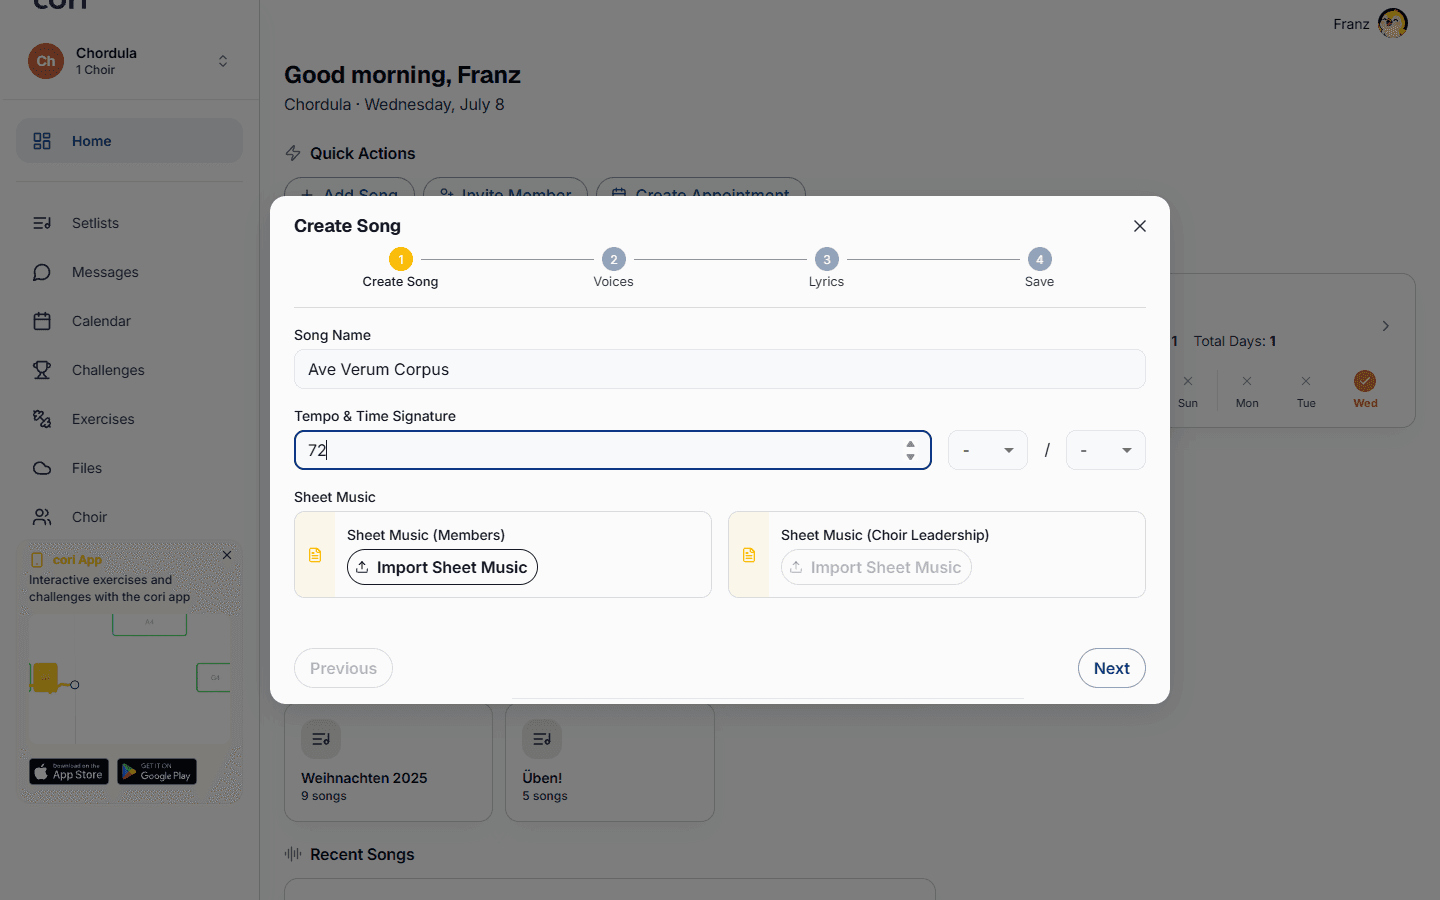
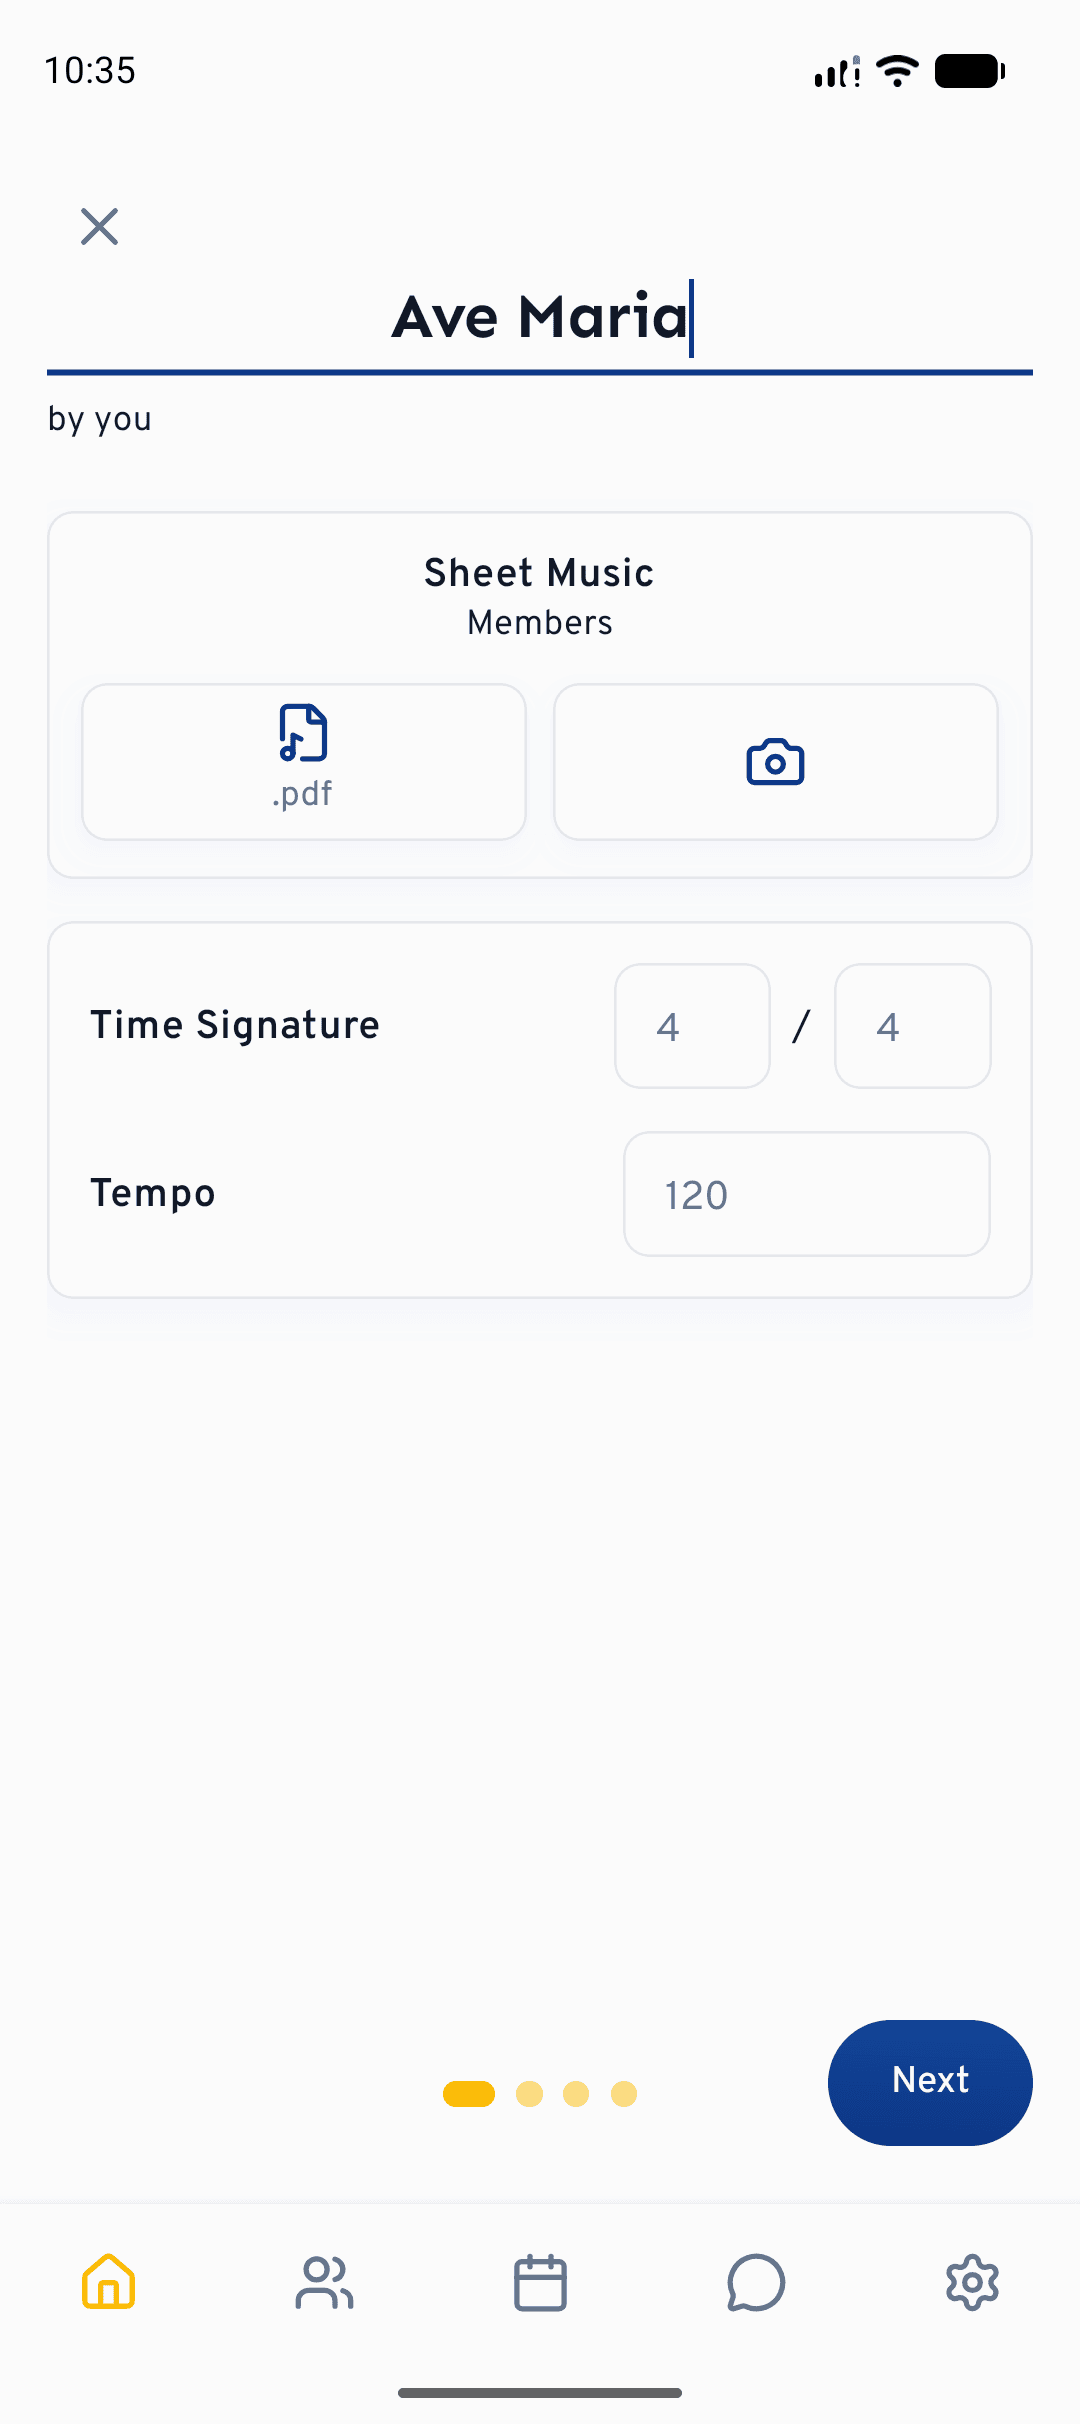
On the first step you enter the song name, optionally set the tempo and time signature, and attach the sheet music as a PDF: one version for the members and, if you like, a separate conductor's score for the choir leadership. In the app you can also capture sheet music directly with the camera (Choose PDF or Scan). You may leave the tempo empty, it can be added at any time later.
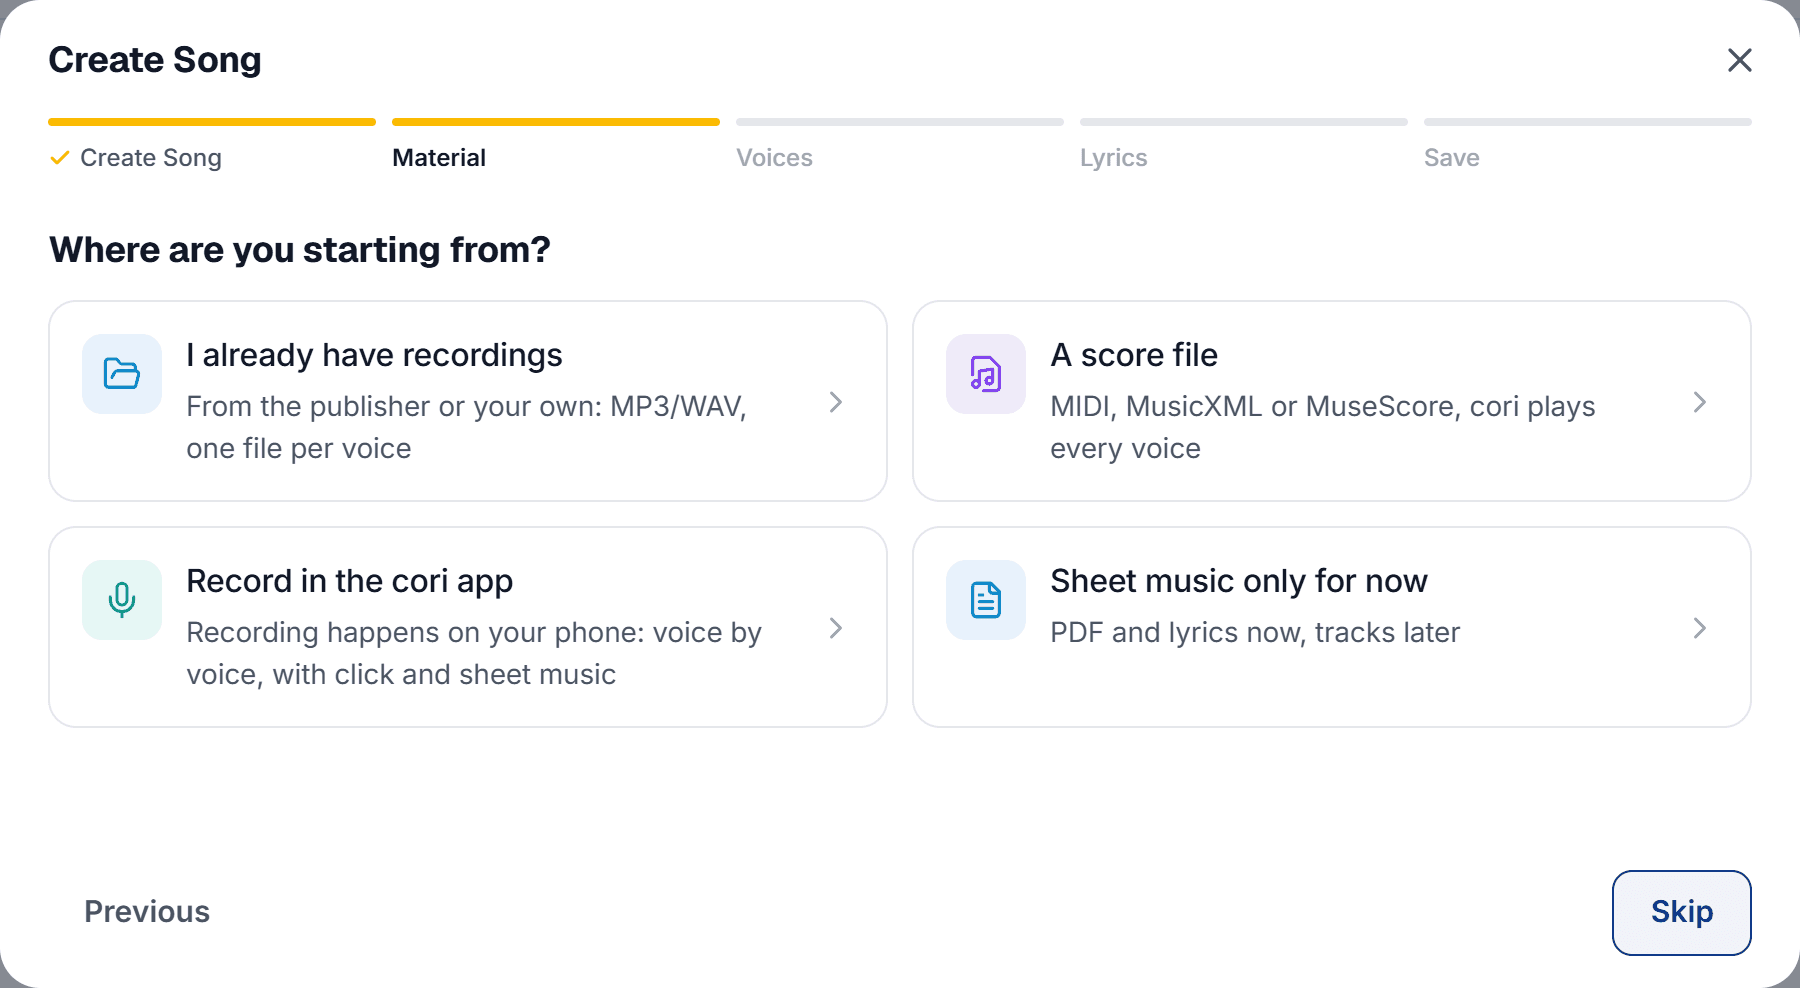
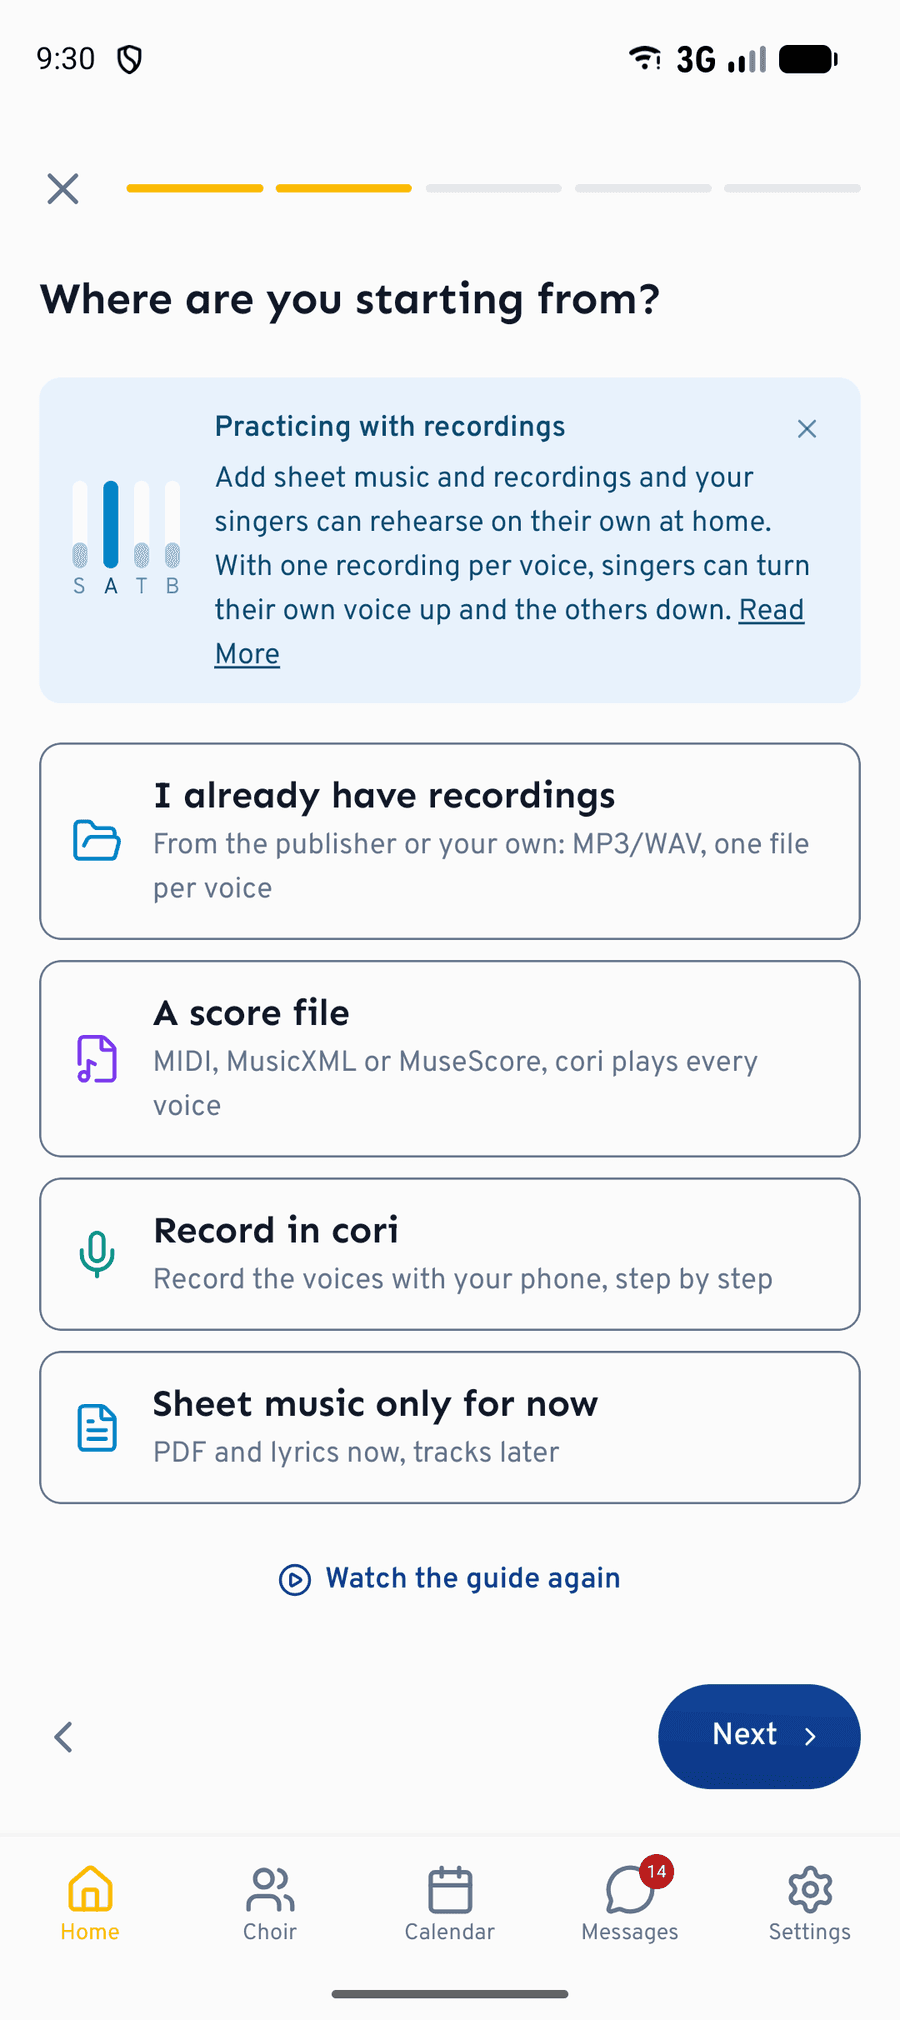
Where are you starting from?
The material step is the junction of the creator. cori asks “Where are you starting from?” and offers four starting points:
- “I already have recordings”: from the publisher or made yourself, MP3, WAV and more, one file per voice.
- “A score file”: MIDI, MusicXML or MuseScore; cori plays every voice.
- “Record in the cori app” (in the app: “Record in cori”): voice by voice on your phone, with a click and sheet music.
- “Sheet music only for now”: PDF and lyrics now, tracks later.
Your choice adapts the voices step, but doesn't settle anything for good: you can combine recordings, score files and accompaniment tracks there at any time. On the web, both “I already have recordings” and “A score file” open the file picker right away, and for every kind at once: if the publisher supplies MIDI files alongside the MP3s, you simply select them all together and cori sorts the files out by itself. If you already know the creator, go straight on with “Continue without a guide”.
If you choose “Record in the cori app” on the web, a card with a QR code and the app store badges appears: “Practice recordings are made in the cori app”. Save the song here with sheet music and lyrics, then open it in the app and record the voices on your phone. You can of course also upload finished recordings on the web right away.
Uploading existing recordings
On the Voices step every voice gets its own card: soprano, alto, tenor, bass or freely named voices. On each card you assign that voice its audio file; cori accepts common formats such as mp3, wav, m4a, flac, aac and ogg. In the web app it's quickest to drag & drop several files into the step at once and then assign them to the voices.
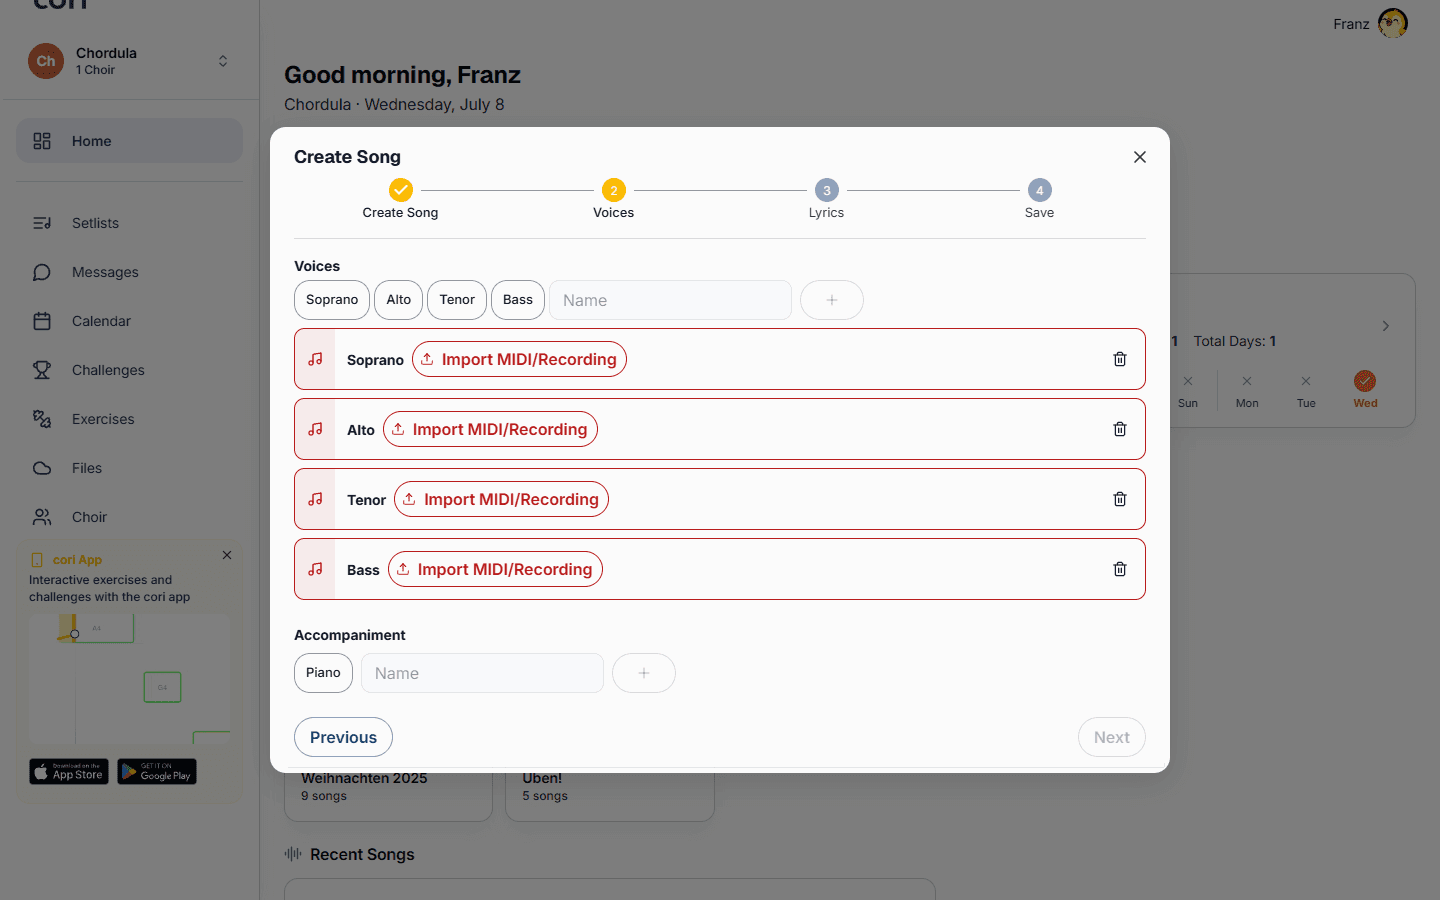
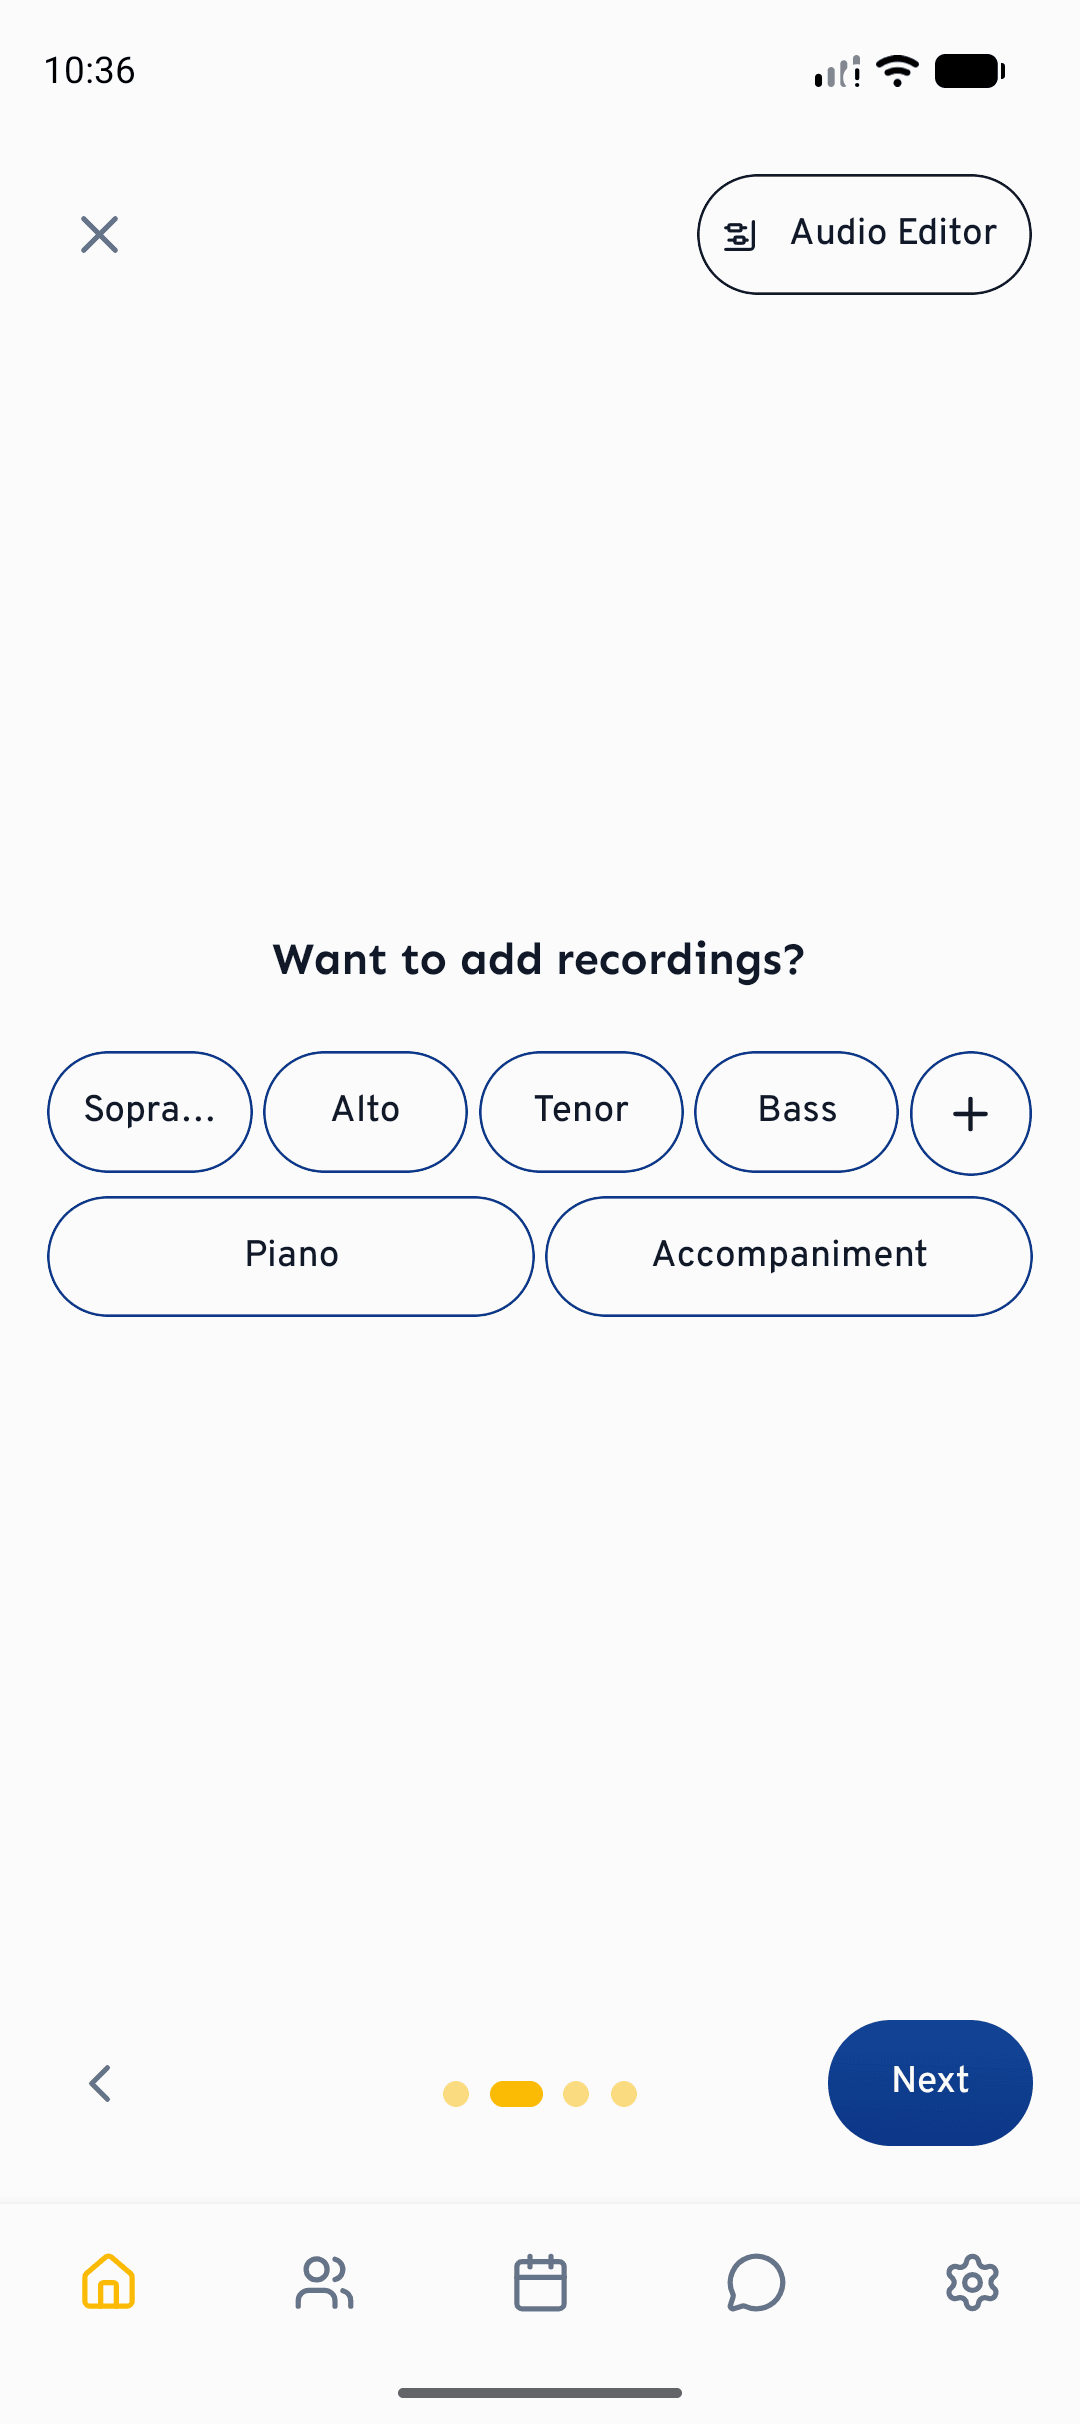
This works best when each voice is its own audio file (one for soprano, one for alto and so on). Only then can the singers turn their own line up and mix the others down. If you only have a single mixed recording, you can upload it as one voice; for targeted practice, separate files are far more valuable though.
Under Accompaniment go the tracks that aren't a choir voice, such as a piano reduction or a playback track. Accompaniment tracks can be added by drag & drop and renamed; while practising, the singers mix them in or out.
Importing a score file
Instead of recordings you can also import a file from your notation software: MIDI, MusicXML or MuseScore. From it, cori plays every voice as its own practice track.
The import runs in two stages: first you assign the tracks in the file to the voices of your song, then you decide which of them serve as the note reference (for the note check while recording, for example). With MIDI files a track selection helps you: it shows the number of notes and the range for every track and lets you listen in, so you can tell which track is which voice before you assign it. If the file carries a tempo, cori takes it over into the song; the tempo field then shows “Taken from the imported file”.
The creator won't let you leave the voices step until every track you created has been taken care of. If something is missing, it tells you exactly what: “2 voices have no recording yet”, for instance, with the note “Record it, import a file, or remove it to continue.”
Sheet music only for now
You can also create a song entirely without practice tracks: choose “Sheet music only for now” and the voices step stays empty, showing “No tracks yet” with the note that you can add recordings or a score file, or record voices, at any time. The sheet music PDF and the lyrics are there for the choir straight away, the tracks follow when you have them.
Lyrics
On the Lyrics step you add the words: paste them in as a whole, type them line by line, or let cori pick them out of the recordings. Individual lines can be assigned to particular voices, which is handy for divided passages. The step is optional; lyrics can be added later at any time. More on this in Lyrics and choreography.
Saving: visibility, preview and chapters
On the last step, Save, you choose which choir the song belongs to and decide whether it's visible to the members straight away. A preview player plays the song exactly as the choir will soon hear it, so you can check before saving that every track sits in the right place.
This is also where you set the chapters: they mark the sections of your song, verse and chorus for example. Your choir can use them to jump straight to a section in the player, to practise just the bridge for instance. Every chapter has a name and a time (mm:ss); templates such as Intro, Verse, Chorus, Bridge, Outro, Interlude, Pre-Chorus and Solo are ready as names, or you give it one of your own. To set one, play the song or jump to the right spot and add the chapter there; with “1 second earlier” and “1 second later” you hit the entry exactly.
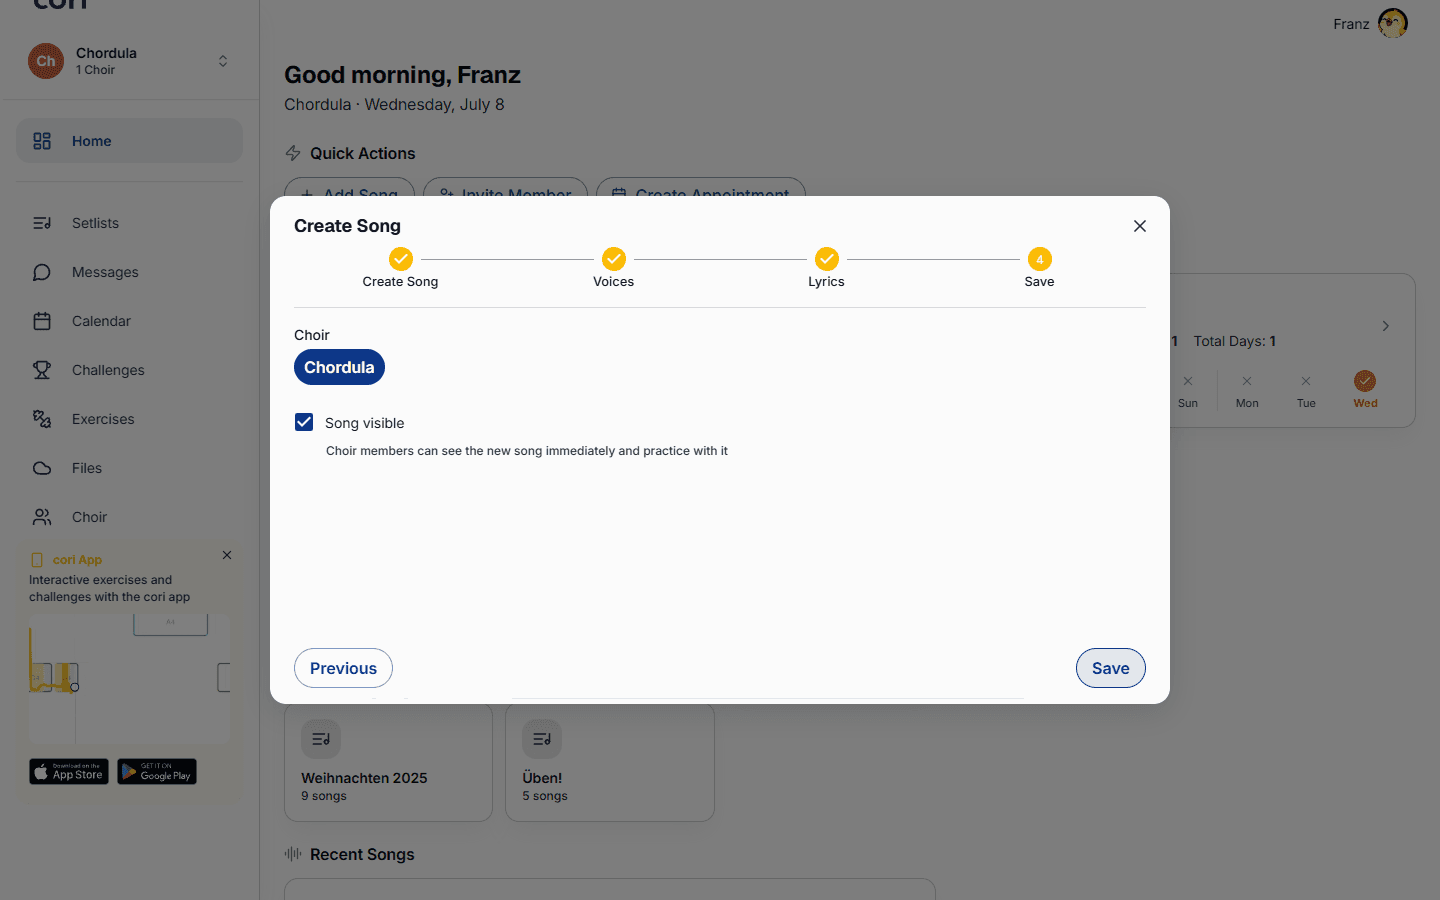
As soon as the upload has finished, the song appears in your choir's song list and everyone can practise.
What's next?
- Recording and editing voices on your phone: Creating a song with the AudioEditor
- Getting the tracks into balance: Mixing and stereo panning
- Adding words and movements: Lyrics and choreography
- How the members practise with the song: Playing songs
Still need help?
Can’t find what you’re looking for? Send us a message and our team will get back to you.
Contact support