
Creating a song with the AudioEditor
Record practice recordings right in the cori app: with a recording guide, a note check, a multi-track editor and effects.
App only
Want to sing the practice recordings for your choir yourself? That is exactly what the audio editor in the cori app is for: a multi-track studio on your phone with which you record every voice separately, check whether the notes are right, and finally mix it all into a finished practice song. A guide inside the app takes you through the whole recording step by step.
If you have finished voice recordings (from the publisher or made yourself), there's no need to record anything again. Upload them directly instead, see Creating a song from existing recordings.
The audio editor lives in the iOS and Android apps. You won't find it in the browser, so reach for your phone or tablet when you want to record a song. On the computer you can create the song beforehand with sheet music and lyrics, and then open it in the app.
The route to a recording
Create a new song in the app and give it a name first, optionally with sheet music (PDF or scan) and a tempo. The tempo is worth setting: it drives the click and the count-in while recording. On the Where are you starting from? step you then choose Record in cori and land on the Voices step. This is where everything happens: you create the voices of your song, record them, and find the Audio Editor button in the header at the top right, which opens the full studio.
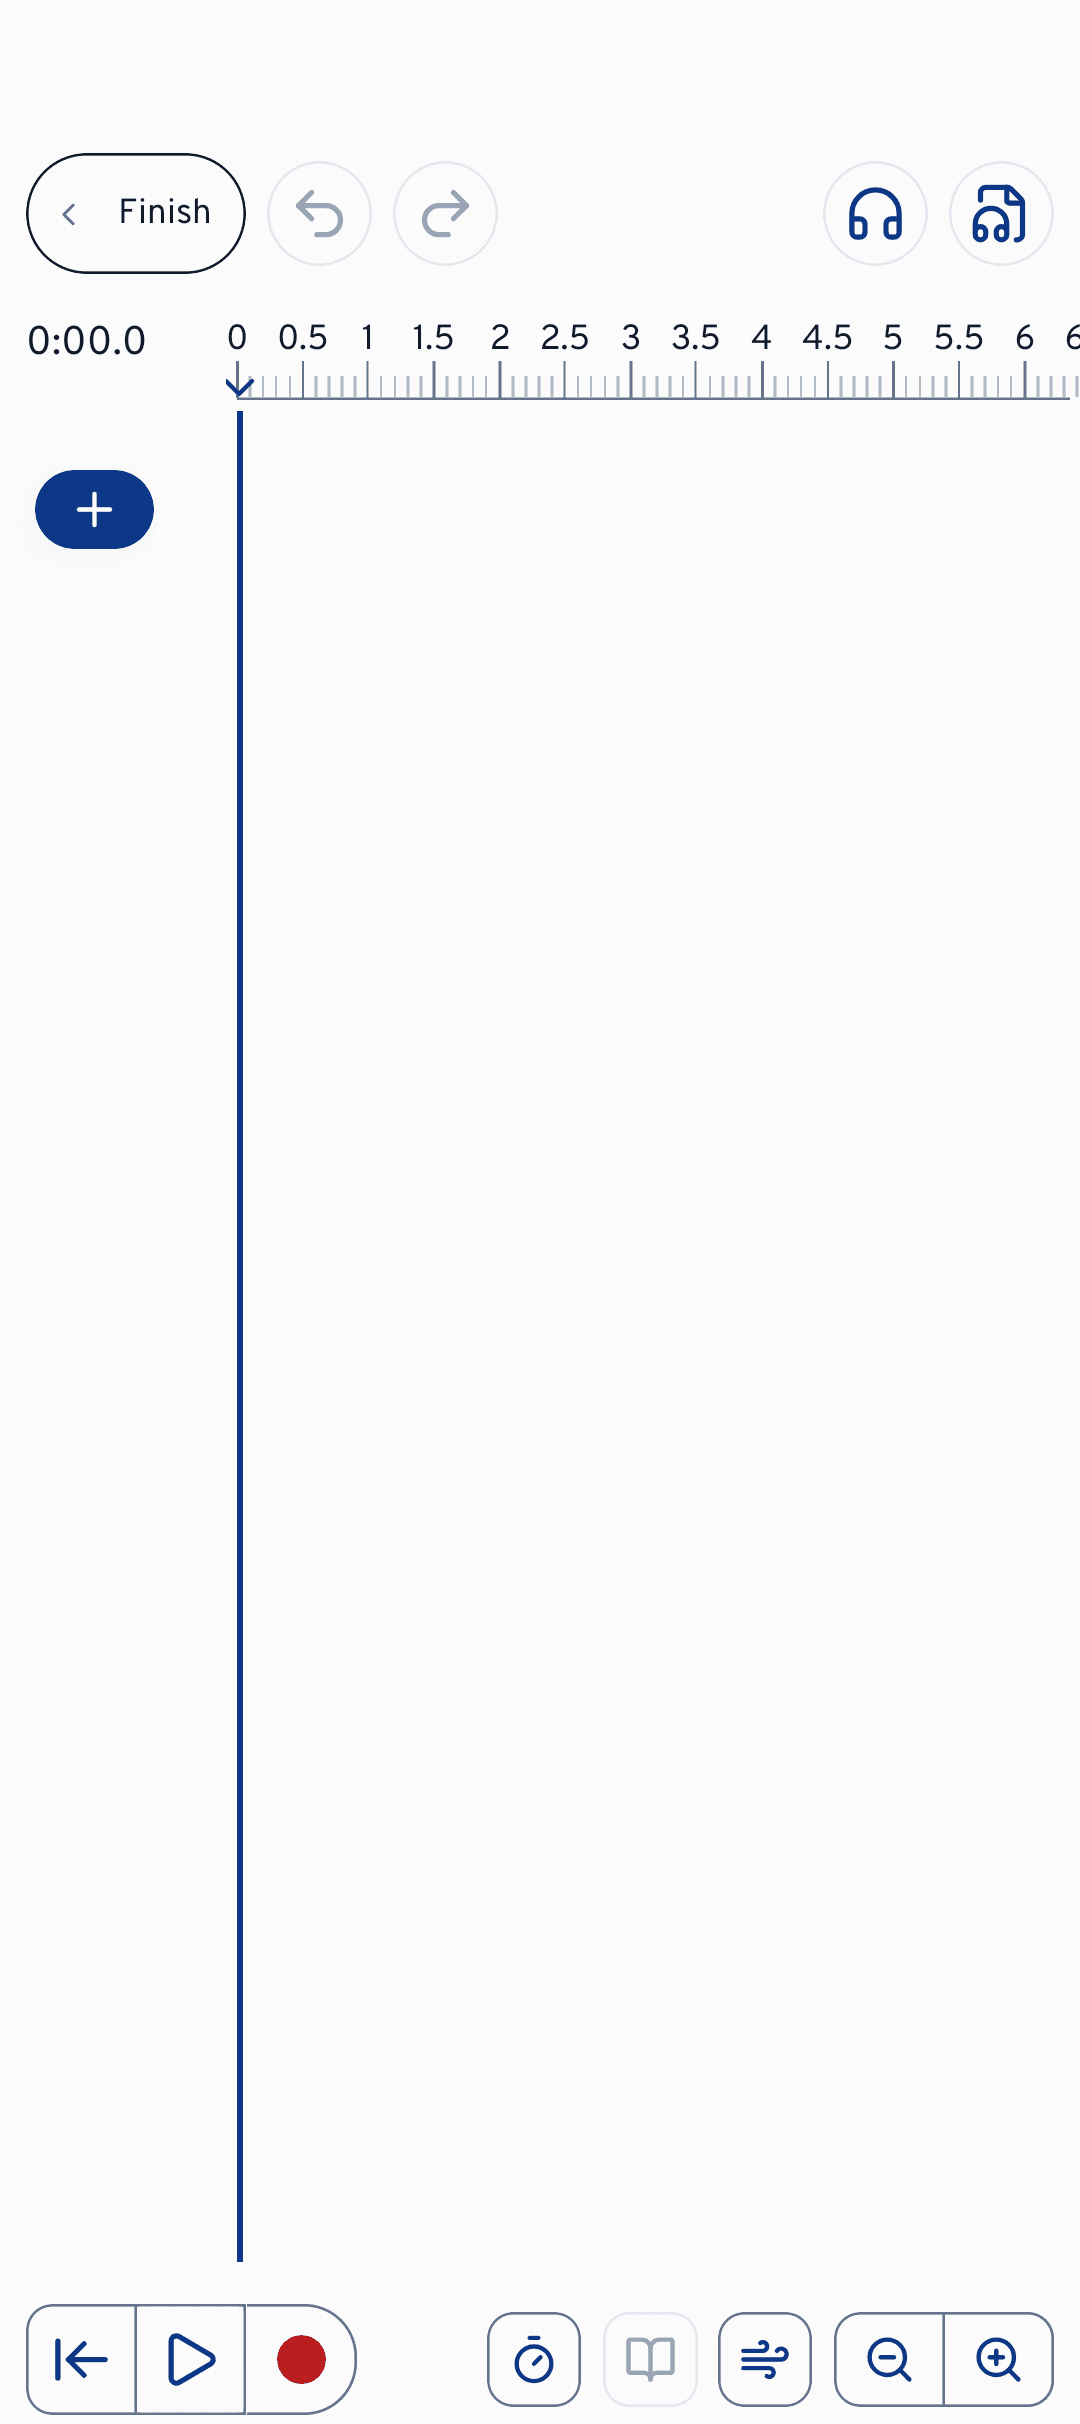
For most recordings you don't have to open the editor yourself at all: the voices step and the recording guide get you there anyway. The editor is the workbench for everything that comes after: cutting, mixing, effects.
The recording guide
The recording guide is waiting for you on the voices step: an expandable checklist that ticks itself off while you work. So you don't have to remember what is still missing; the list shows you. It takes you through these stages:
A MIDI, MusicXML or MuseScore file serves as a reference for the notes. With it, cori can later check whether your take hits the written notes.
Choose the voices of your song at the top. The tempo is optional but handy: it counts you in and keeps the individual voices together.
With headphones the playback doesn't bleed into your microphone. The app measures your phone's delay once so that your takes land exactly on the beat.
Record the first voice, then the next. After every take the guide suggests checking the notes of that voice (more on that in a moment).
Finally you smooth out small slips with pitch correction.
Sing only that one voice onto each track, without piano and without the other voices. While practising, cori plays all the tracks at the same time: if the piano is in every take, your choir hears it four times over, and the mixer can no longer turn it down. Piano, playback or accompaniment therefore get a track of their own under Accompaniment. That is also why you need headphones: without them the microphone records the voices you have already captured all over again.
Collapsed, the card only shows Show the recording guide. As soon as every voice has its take, it reports All voices recorded: every voice has its own track, next up are the lyrics, or you save straight away.
Did I hit the notes?
After a take you can get some reassurance from cori: the note check compares your recording with the reference notes of that voice (“Listening to the take…”) and tells you how well pitch and timing match the notes.
Worth knowing: this is not a grade. There is no score, no XP, no badges, and your choir sees none of it. The check is only for you, so that while recording you know whether the track is good enough or whether a second take is worth it.
A few cases you may come across:
- Being an octave out is fine. If you sing an octave lower (or higher) than written, cori tells you so, but doesn't count it as a mistake. With Store this register on the voice cori remembers the register for that voice, so that the note check and the note display while singing along match your recording. The take itself stays in the register you sang it in: when you listen to it, it sounds an octave away.
- The weakest spot is named. Instead of an overall mark, cori shows you where things wobble, for example “Weakest stretch: bar 12 (68% of the notes hit). Worth another take?”. With Listen in the editor you jump straight to that spot and decide for yourself. If nothing stands out, cori says that too: “The take follows the notes.”
- No reference notes yet? Without a score file cori has nothing to compare. You then get a note suggesting you add a MIDI, MusicXML or MuseScore file, with the Add reference notes button right beside it.
- Analysis failed? That happens, with very quiet recordings for instance. Try again in the editor after saving.
The audio editor
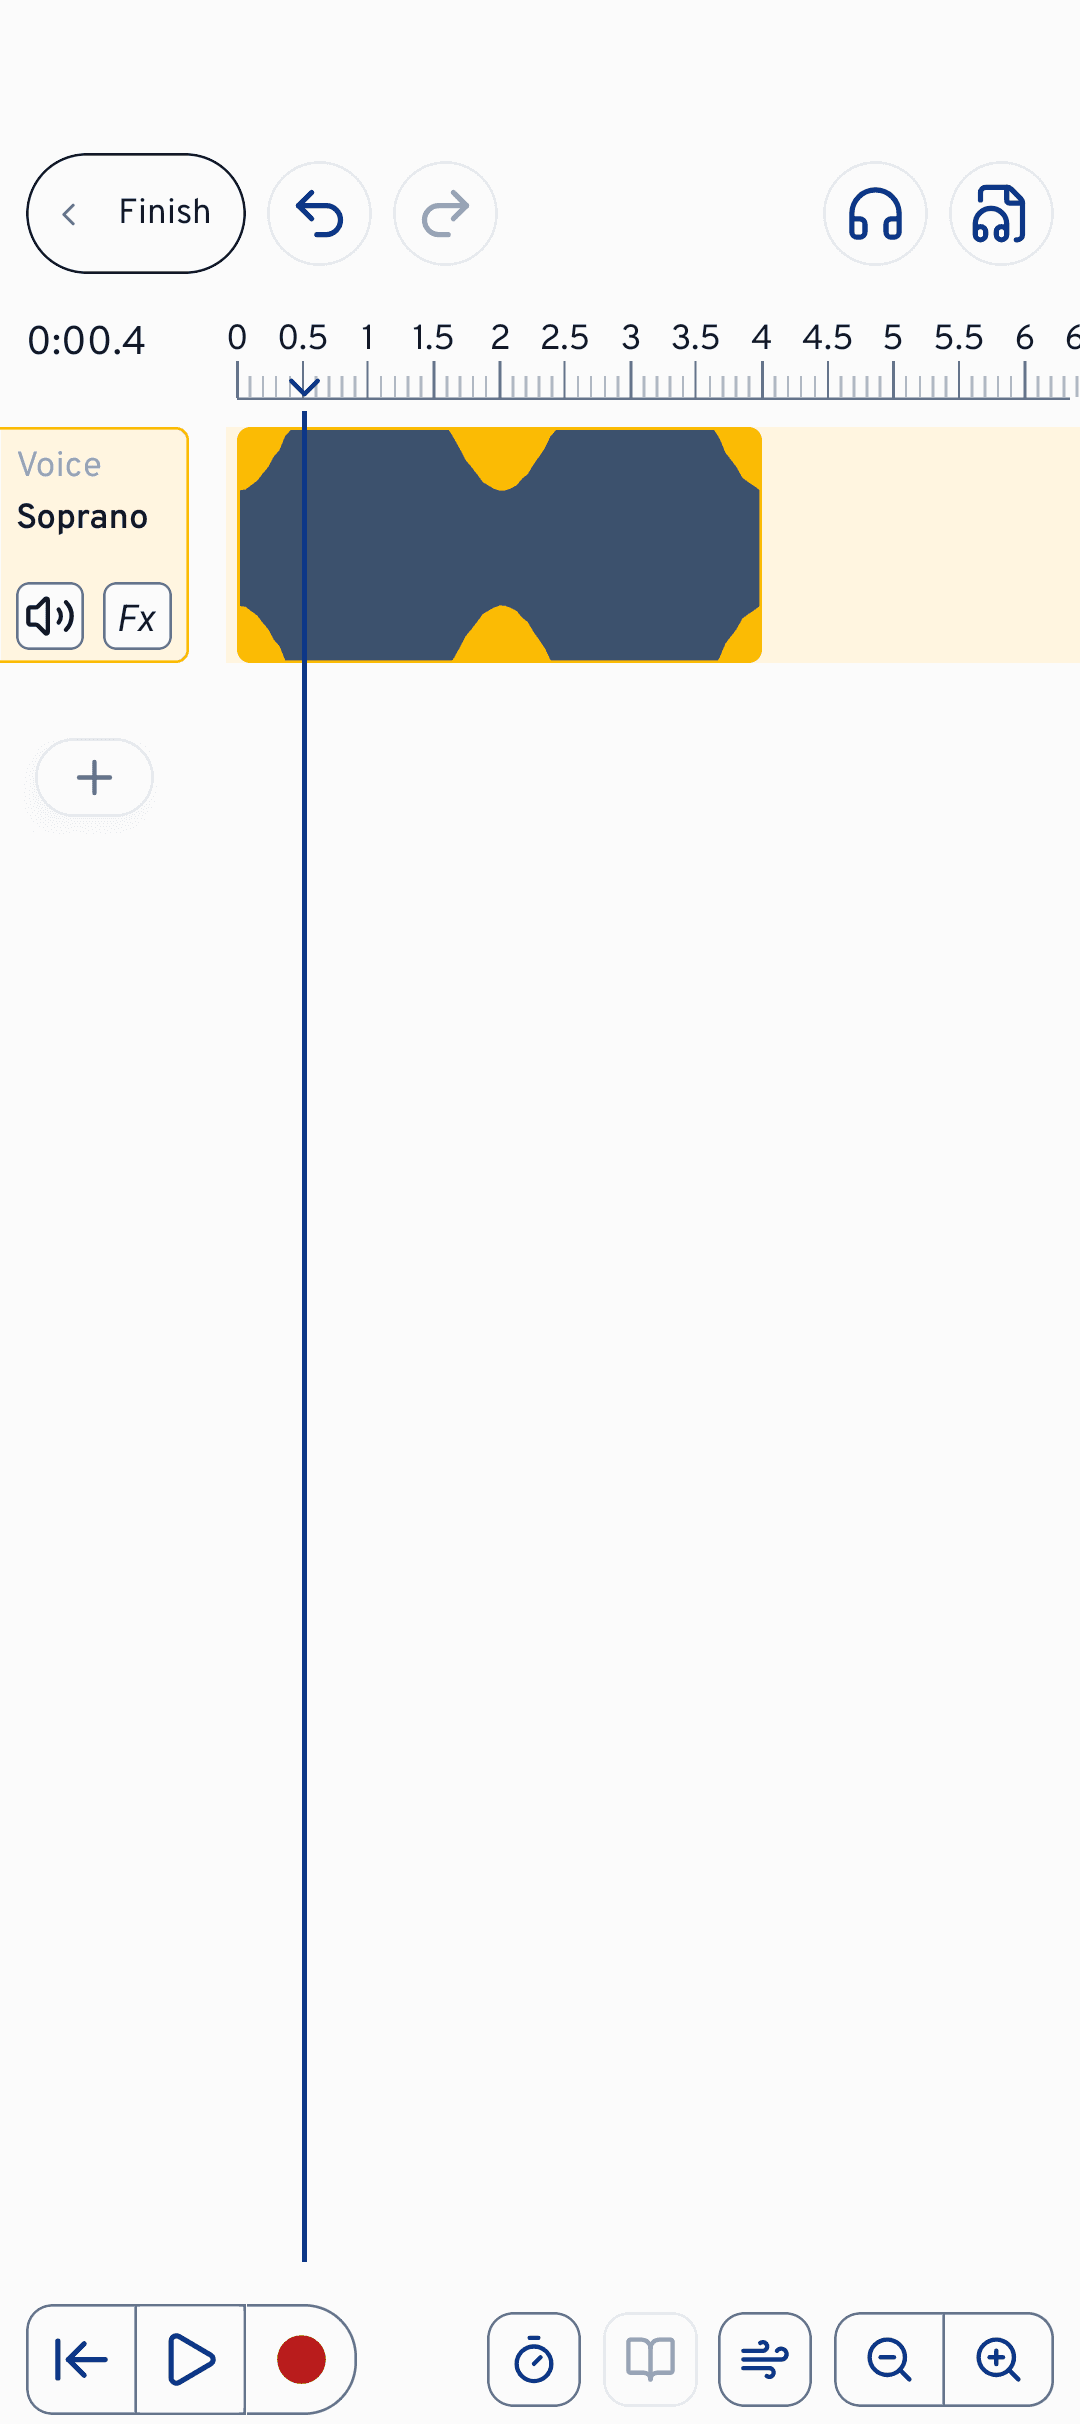
The editor shows every voice and every accompaniment as its own track on a timeline. With the you add a track, and with the red record button () you record onto the selected track. The count-in () gives you a click before your entry. Finished files come in via the : audio or MIDI, straight onto a track.
Behind the are the Audio Settings. That is where you pick your input device and measure the headphone delay, if you haven't already done that through the recording guide.
Editing happens directly on the timeline: drag a clip to move it, trim its start or end, split it at the playhead, or delete it. Pinch your fingers apart or use the zoom buttons for more detail. And if something goes wrong: Undo and Redo take you step by step through your changes.
Mixing and effects
For the balance between the voices, every track has three controls: the mutes it, level mode () determines how loud it sits in the mix, and with Pan you push it to the left or right in the stereo image (shown as “Center”, “L 40” or “R 40”).
On top of that, every track row has a small, italic Fx button for effects. It fills in as soon as the track has at least one effect; on MIDI tracks it is greyed out. The effects dialog has two modes: Presets for quick, ready-made sounds and Advanced for every parameter, each with help text right in the app. You can choose from Reverb (adds the room of a hall), Compressor (evens out loud and quiet), Equalizer (shapes the sound, band by band), Pitch correction (pulls the pitch to the nearest note), Chorus (turns one voice into several), Noise gate (silences the gaps between the phrases) and De-esser (softens sharp s sounds).
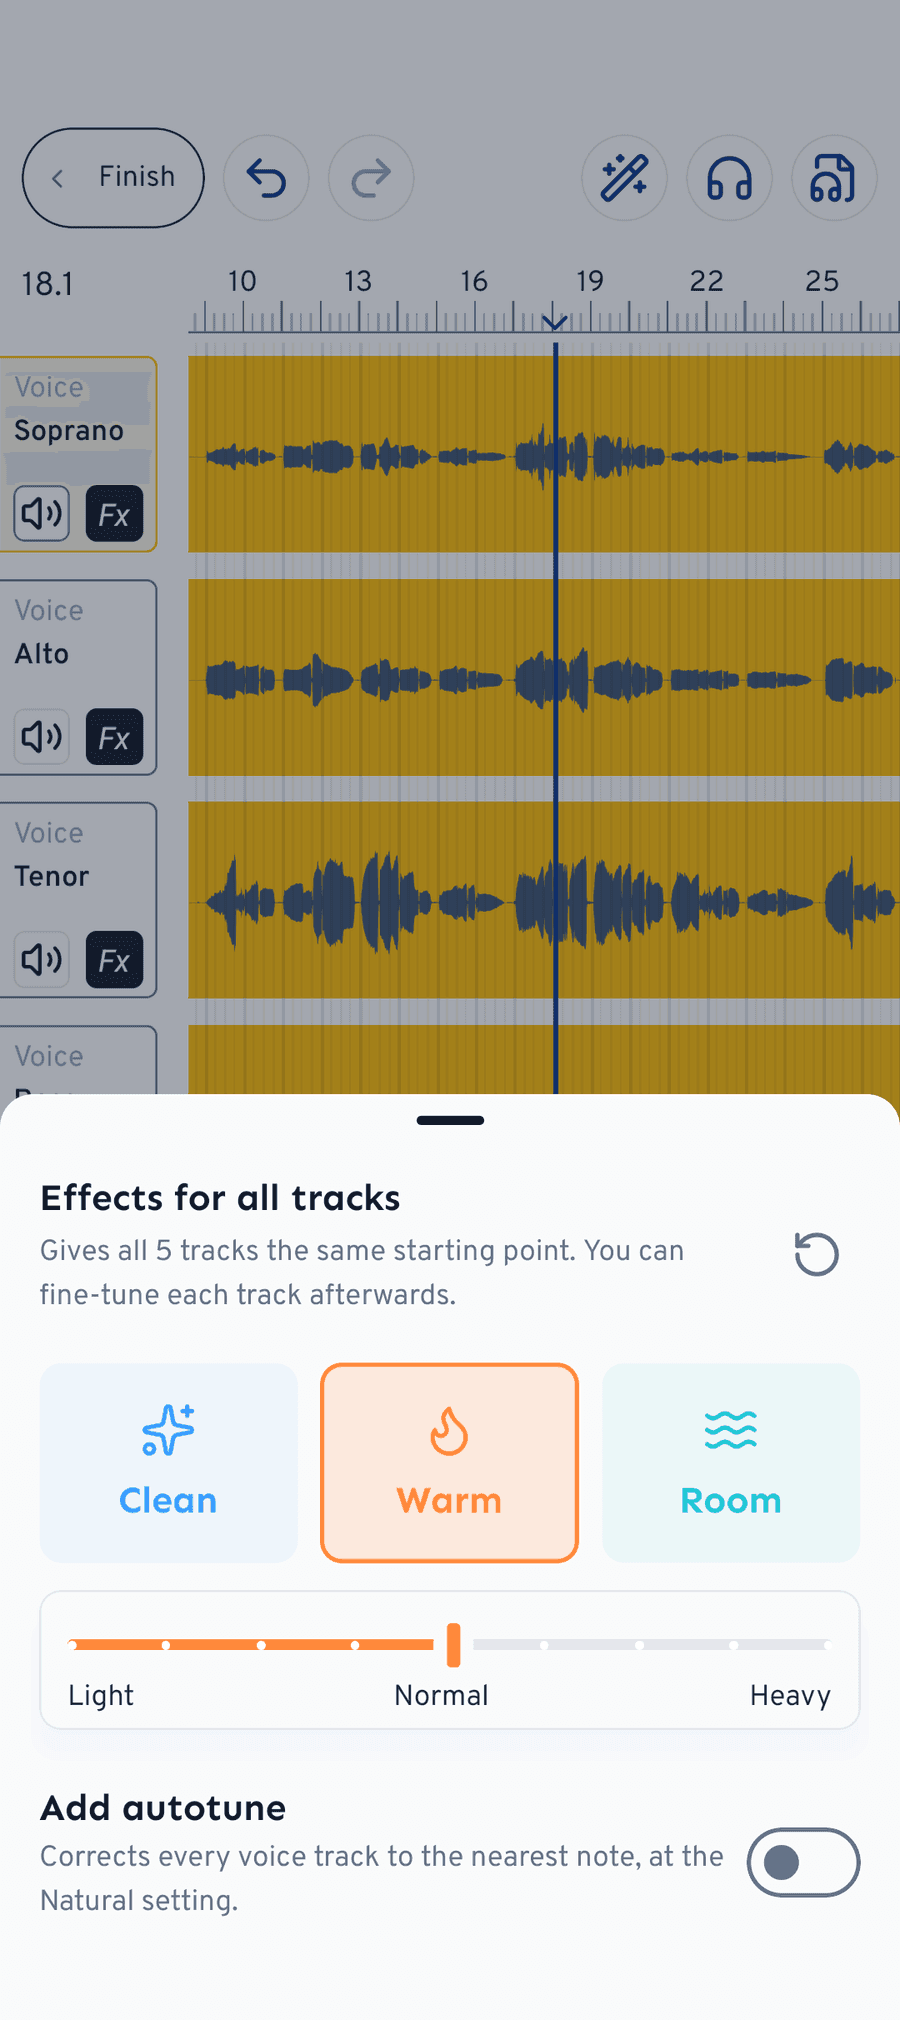
You don't have to set up every track separately: Effects for all tracks gives all tracks the same starting point. Choose one of three sound directions (Clean, Warm, Room) and an intensity (Light, Normal, Heavy). The Add pitch correction switch puts a gentle pitch correction on every vocal track. After that you can adjust each track individually, and Reset takes it all back out again.
cori pulls the sung pitch to the nearest note, but corrects by two semitones at most. So a recording gets tidied up, not rewritten: your voice stays your voice.
Finishing and saving
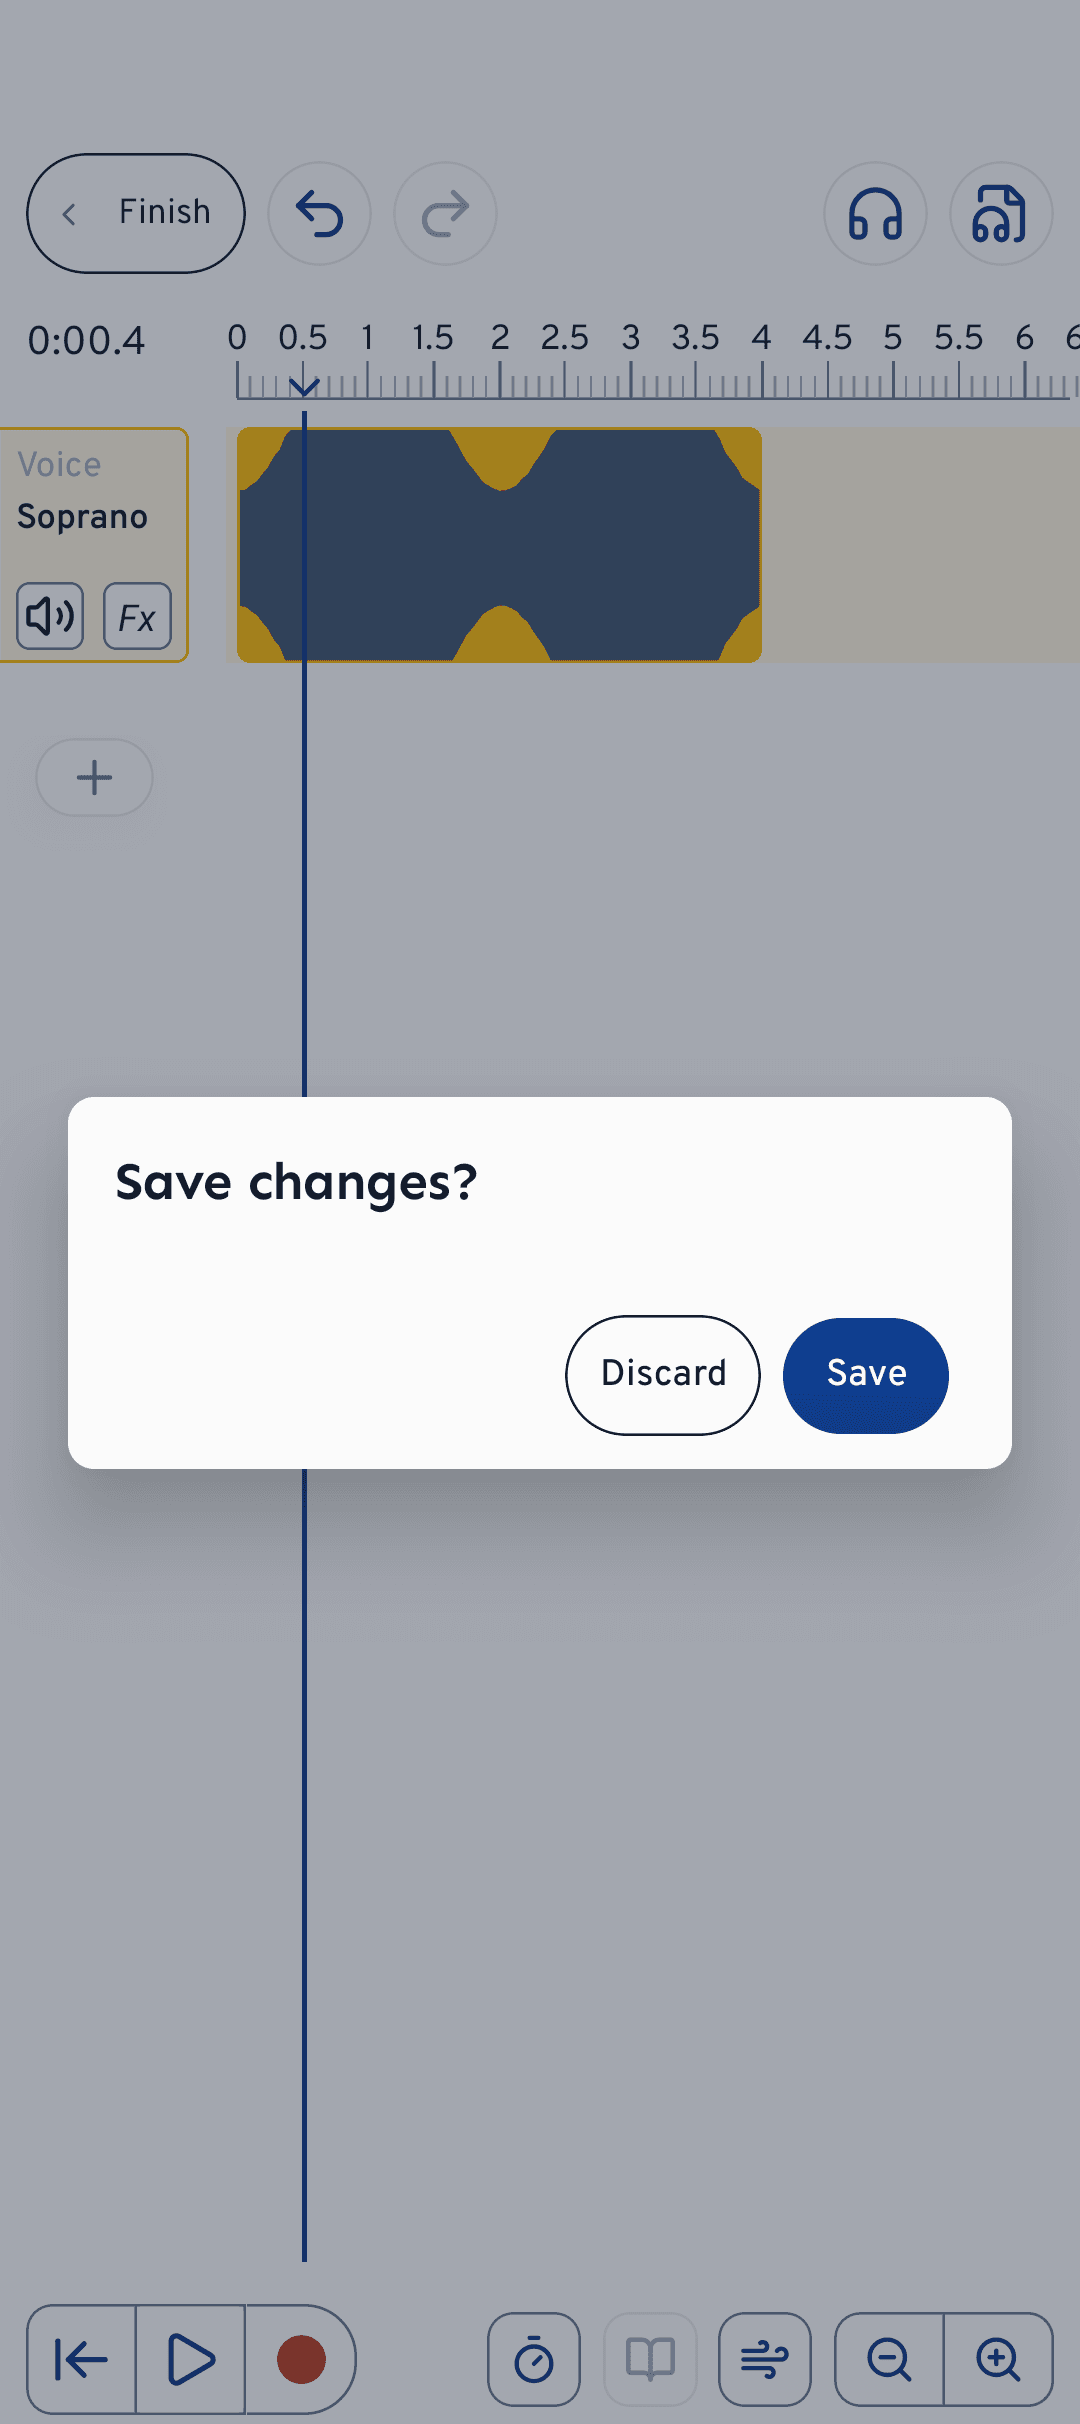
When you're happy, tap Finish at the top. cori asks Save changes?: with Save the tracks are rendered and the notes for the sing-along feedback are read from the recordings (which is why it takes a moment), with Discard everything stays as it was. Back in the song creator you go through lyrics and saving, and then your choir can practise with the new recordings.
What's next?
- Uploading finished recordings instead of singing them: Creating a song from existing recordings
- How your choir practises with the tracks: Playing and practising songs
- Polishing the listening experience: Mixing voices and stereo panning
Still need help?
Can’t find what you’re looking for? Send us a message and our team will get back to you.
Contact support